How to Successfully Install a Roof Access Hatch: A Step-by-Step Guide for DIY Enthusiasts
Installing a roof access hatch can enhance functionality and maintenance capabilities for any building. This guide provides a comprehensive, step-by-step approach to successfully installing a roof access hatch. Whether you are a seasoned DIY enthusiast or a beginner, this information will help you understand the essential considerations, tools, materials, and procedures involved.
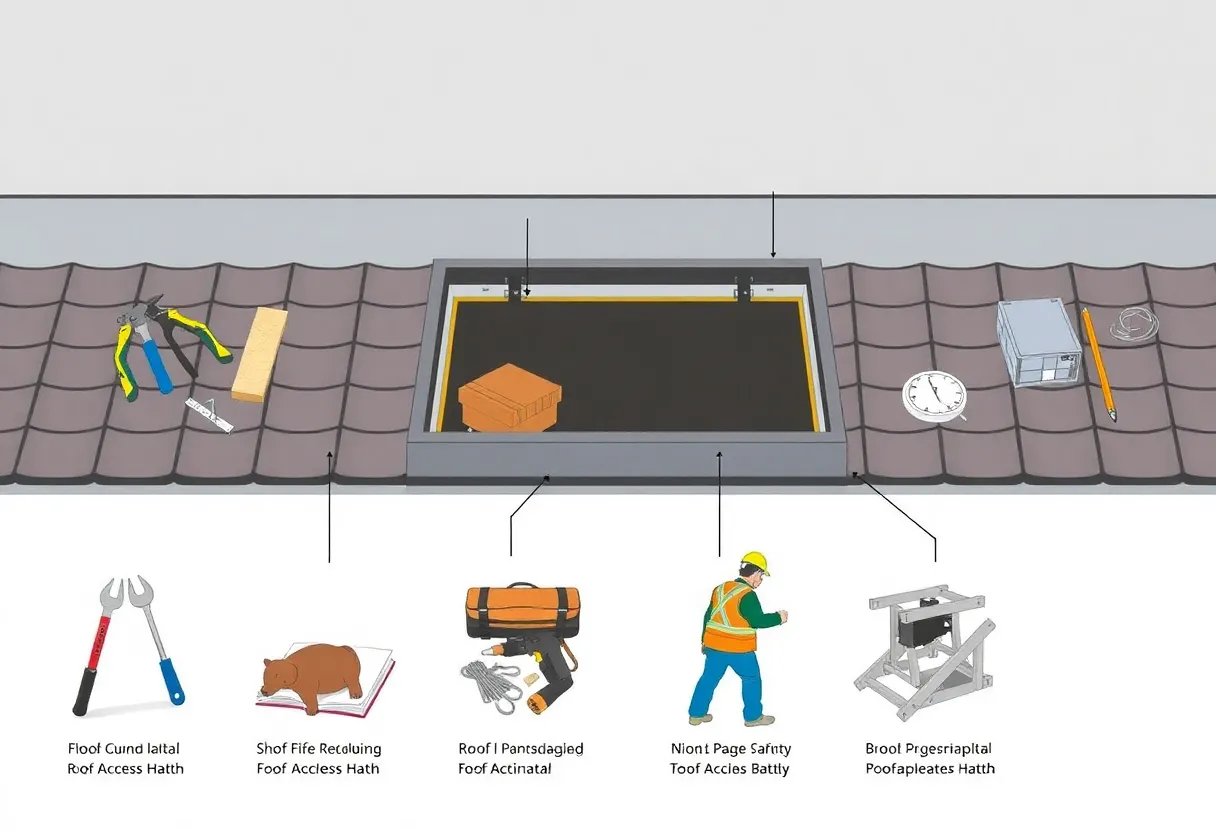
Understanding Roof Access Hatches
A roof access hatch serves as an entry point to a roof space, allowing for easier access for maintenance or inspections. These hatches are beneficial for HVAC servicing, roof inspections, and other maintenance tasks. It is critical to select the right type and size of hatch based on your specific needs.
Types of Roof Access Hatches
There are several styles of roof access hatches available on the market:
- Traditional Hatches: Usually made of metal or fiberglass, they are designed to provide direct access to the roof.
- Insulated Hatches: Designed for energy-efficient buildings, these hatches help maintain internal temperatures.
- Skylight Hatches: These serve dual purposes of providing access and allowing natural light into the building.
Preparing for Installation
Before installation, ensure you have the right tools and materials. Planning and proper measurement are essential steps in achieving a successful outcome.
Materials Needed
- Roof access hatch kit
- Sealant (e.g., silicone or roofing sealant)
- Self-tapping screws
- Flashing kit (if not included)
- Insulation (if applicable)
Tools Required
- Measuring tape
- Utility knife
- Drill and drill bits
- Screwdriver
- Ladder
- Safety equipment (gloves, safety goggles)
Safety Precautions
Always prioritize safety during installation. Ensure you have a steady ladder and consider having a spotter for extra support. Wear appropriate safety gear to protect yourself from potential hazards.
Step-by-Step Installation Process
Step 1: Choose the Location
Select a location for the hatch that provides optimal access while considering existing roof structures. Avoid areas with electrical work, HVAC units, or drainage systems.
Step 2: Measure and Mark
Use a measuring tape to determine the opening size based on the specifications of your roof access hatch. Mark the outline of the opening with a pencil to ensure straight cuts.
Step 3: Cut the Opening
Using a utility knife or a saw, carefully cut along the marked outline. Ensure you follow your building’s safety guidelines and structural requirements. It’s advisable to seek assistance while working at height.
Step 4: Prepare the Surrounding Area
Clean the edges of the opening and remove any debris or loose materials. This will support a better seal for the roof hatch.
Step 5: Install Flashing (if required)
Some roof access hatches require flashing to ensure proper water drainage and prevent leaks. Follow the manufacturer’s instructions for flashing installation, ensuring it fits snugly around the hatch’s perimeter.
Step 6: Position the Access Hatch
Carefully lift the roof access hatch into position, aligning it with the opening. Ensure the hatch is level and centered according to the installation guide provided by the manufacturer.
Step 7: Attach the Hatch
Using self-tapping screws, attach the hatch to the roof structure. Begin at one corner and work your way around, checking for levelness as you secure the hatch.
Step 8: Seal the Edges
Apply a generous bead of roofing sealant around the edges of the hatch where it meets the roof. This will provide additional waterproofing and enhance durability.
Step 9: Insulation (if applicable)
If you installed an insulated hatch, follow the manufacturer’s instructions for securing insulation around the edges or within the hatch itself. Proper insulation helps maintain energy efficiency in the building.
Step 10: Final Inspection
After completing the installation, conduct a thorough inspection. Open and close the hatch multiple times to ensure it operates smoothly. Check for any leaks by testing with a water source.
Post-Installation Considerations
Once the installation is complete, regular maintenance will help prolong the life of your roof access hatch.
Maintenance Tips
- Regularly inspect the hatch for signs of wear or damage.
- Ensure the sealing remains intact to prevent water ingress.
- Clean the hatch periodically to avoid dirt and debris buildup.
Common Issues and Solutions
- Leaking: Inspect the sealing for damage. Consider re-sealing if needed.
- Sticking Hatch: Check for obstructions or debris around the edges.
Conclusion
Installing a roof access hatch can significantly enhance the accessibility and functionality of a building. With proper planning, the right tools, and a systematic approach, anyone can achieve a successful installation. Be mindful of safety throughout the process, and take the time to ensure your hatch operates correctly after installation. With these steps and tips, your roof access hatch will serve its purpose efficiently for years to come.
Author: STAFF HERE ROCK HILL
The ROCK HILL STAFF WRITER represents the experienced team at HERERockHill.com, your go-to source for actionable local news and information in Rock Hill, York County, and beyond. Specializing in "news you can use," we cover essential topics like product reviews for personal and business needs, local business directories, politics, real estate trends, neighborhood insights, and state news affecting the area—with deep expertise drawn from years of dedicated reporting and strong community input, including local press releases and business updates. We deliver top reporting on high-value events such as the Come-See-Me Festival, Rock Hill Arts Festival, and motorsport events at the Rock Hill Velodrome. Our coverage extends to key organizations like the Rock Hill Chamber of Commerce and the Culture & Heritage Museums, plus leading businesses in manufacturing and technology that power the local economy such as 3D Systems and Comporium. As part of the broader HERE network, including HEREAiken.com, HEREBeaufort.com, HEREChapin.com, HERECharleston.com, HEREClinton.com, HEREColumbia.com, HEREGeorgetown.com, HEREGreenwood.com, HEREGreenville.com, HEREHiltonHead.com, HEREIrmo.com, HEREMyrtleBeach.com, HERENewberry.com, HERERockHill.com, and HERESpartanburg.com, we provide comprehensive, credible insights into South Carolina's dynamic landscape.