How to Safely Remove and Replace Roof Flashing: A Homeowner’s Guide
Roof flashing is a crucial component of your roofing system. It directs water away from critical areas, preventing leaks and structural damage. However, it can deteriorate over time. Whether due to weather conditions or age, replacing worn-out flashing is essential to maintain your roof’s integrity. This guide will help you safely remove and replace roof flashing, ensuring your home stays protected from water damage.
Understanding Roof Flashing
Roof flashing is typically made of metal, though some modern versions may use other materials like PVC or rubber. It’s installed at intersections where the roof meets vertical surfaces, such as walls, chimneys, or vents. The primary purpose is to prevent water from seeping into these vulnerable spots.
Types of Roof Flashing
- Continuous Flashing: This type runs the entire length of a roof edge, providing excellent protection against water intrusion.
- Step Flashing: Used mainly around chimneys, this flashing consists of overlapping pieces that direct water down into the shingles.
- Base Flashing: Essential for walls, it helps prevent water from entering the house at the base of a structure.
- Counter Flashing: This is applied over base flashing and is often found in areas where the roof meets a vertical surface.
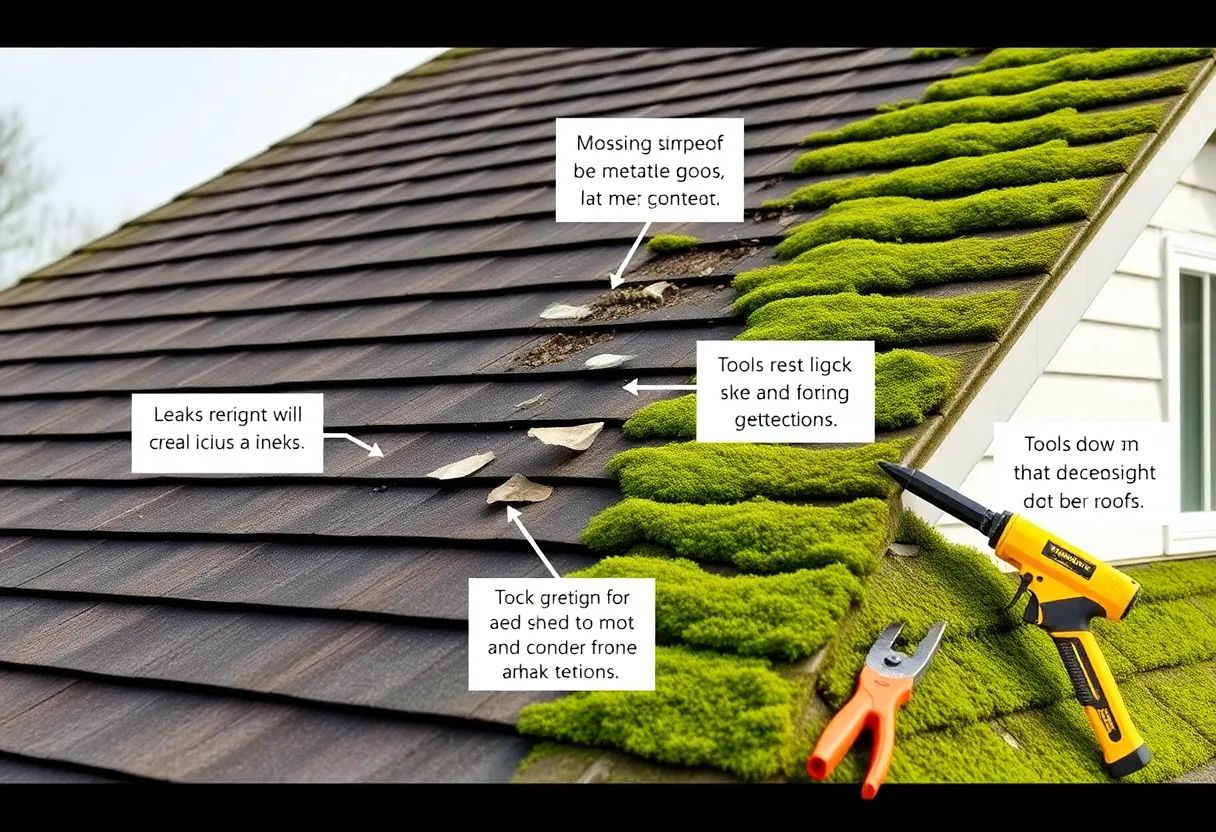
Signs That Flashing Needs Replacement
Identifying the signs of deteriorating flashing early can save you from more extensive repairs. Look for:
- Cracks or rust: Visible damage to the flashing itself is a clear indicator that replacement is necessary.
- Water stains: Areas of your ceiling or walls that show signs of water damage may indicate leaks caused by flashing failure.
- Pooled water: Standing water around flashing areas suggests that it is not functioning correctly to divert water.
- Damaged shingles: If shingles are curling or lifting near flashing, it may be a sign that water is not being directed properly.
Tools and Materials Needed
To undertake the removal and replacement of roof flashing, you’ll need several tools and materials:
Tools
- Utility knife for cutting shingles.
- Screwdriver or drill for removing screws.
- Pry bar for loosening old flashing.
- Caulking gun for applying sealant.
- Safety goggles to protect your eyes.
- Gloves to protect your hands.
Materials
- New flashing (choose material based on previous flashing).
- Roofing cement for sealing.
- Sealant to enhance waterproofing.
- Replacement shingles if needed.
Preparation Steps
Before starting your project, ensure you take proper safety precautions. Always prioritize safety when working on your roof:
- Check the weather conditions; a dry day is ideal for roofing work.
- Use a sturdy ladder and wear a safety harness if necessary.
- Have a partner or someone nearby in case of emergencies.
Step-by-Step Guide to Removing and Replacing Roof Flashing
Step 1: Remove the Old Flashing
Begin by removing any shingles that may be covering the flashing. Use a utility knife to cut through the shingles above the flashing. Gently pry the shingles away to expose the flashing underneath.
Step 2: Detach the Flashing
Identify how the flashing is attached. If it’s screwed down, use a screwdriver or drill to remove the screws. If it’s sealed with roofing cement, gently pry it off using a pry bar. Take care not to damage surrounding materials.
Step 3: Inspect the Area
Before installing new flashing, inspect the area for damage. Look for worn shingles or any signs of water damage. Replace or repair any issues before proceeding.
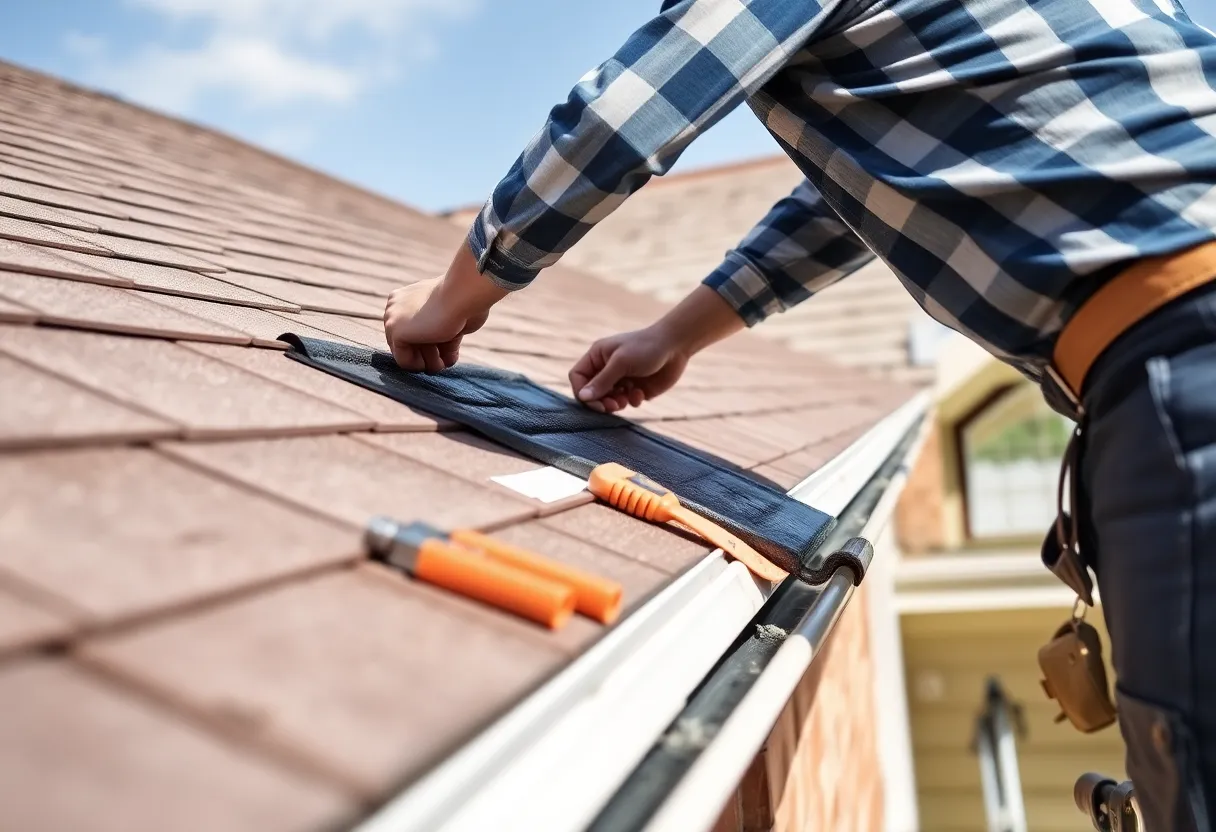
Step 4: Install New Flashing
Begin the installation of the new flashing by positioning it according to the previous layout. For continuous flashing, make sure that it runs the entire length. For step flashing, place each piece vertically along the roof’s slope, overlapping them as you move up.
Step 5: Secure the Flashing
Use screws or roofing nails to secure the flashing in place. Make sure to drive the fasteners into the deck to provide extra stability. If applicable, apply roofing cement to seal the edges and prevent leaks.
Step 6: Replace Shingles
Once the flashing is secure, carefully replace any shingles you removed. Overlap them correctly to ensure they channel water away from the flashing. Apply roofing cement under each shingle as you proceed to further waterproof the area.
Step 7: Seal and Finish
Finally, apply a high-quality sealant along the edges of the flashing and the intersection with shingles for added protection. This step is vital for safeguarding against moisture intrusion.
Post-Installation Inspection
Once you’ve replaced the flashing, it’s crucial to conduct a thorough inspection:
- Check seals for any gaps or areas that may require additional sealant.
- Inspect shingles to ensure they are properly aligned and secured.
- Assess the area after rainfall to ensure there are no leaks.
Maintenance Tips for Roof Flashing
Regular maintenance extends the life of your roof flashing and helps prevent problems:
- Conduct annual inspections to check for damage and wear.
- Clear debris around flashing areas to ensure unobstructed water flow.
- Reapply sealant as necessary to maintain water resistance.
Conclusion
Replacing roof flashing can seem daunting, but it is manageable with the right tools, materials, and guidance. By following this detailed guide, you can help ensure your roof remains leak-free and your home is protected. Regular inspections and maintenance can further prolong the life of your flashing and safeguard your investment in your home. Remember, if you ever feel overwhelmed or uncertain, consult with a professional for assistance.
Author: STAFF HERE ROCK HILL
The ROCK HILL STAFF WRITER represents the experienced team at HERERockHill.com, your go-to source for actionable local news and information in Rock Hill, York County, and beyond. Specializing in "news you can use," we cover essential topics like product reviews for personal and business needs, local business directories, politics, real estate trends, neighborhood insights, and state news affecting the area—with deep expertise drawn from years of dedicated reporting and strong community input, including local press releases and business updates. We deliver top reporting on high-value events such as the Come-See-Me Festival, Rock Hill Arts Festival, and motorsport events at the Rock Hill Velodrome. Our coverage extends to key organizations like the Rock Hill Chamber of Commerce and the Culture & Heritage Museums, plus leading businesses in manufacturing and technology that power the local economy such as 3D Systems and Comporium. As part of the broader HERE network, including HEREAiken.com, HEREBeaufort.com, HEREChapin.com, HERECharleston.com, HEREClinton.com, HEREColumbia.com, HEREGeorgetown.com, HEREGreenwood.com, HEREGreenville.com, HEREHiltonHead.com, HEREIrmo.com, HEREMyrtleBeach.com, HERENewberry.com, HERERockHill.com, and HERESpartanburg.com, we provide comprehensive, credible insights into South Carolina's dynamic landscape.