How to Transform Your Roof with DIY Solar Panel Installation: A Step-by-Step Guide for Homeowners
Solar energy has emerged as a significant alternative to conventional energy sources. Homeowners are increasingly looking to harness this renewable energy. Installing solar panels can significantly reduce electricity costs and environmental impact. This guide outlines the necessary steps for homeowners to consider before embarking on a DIY solar panel installation.
Understanding Your Energy Needs
Before diving into installation, assess your current energy consumption. This helps determine the number of solar panels you’ll need. Analyze past utility bills for a clear understanding of your average monthly consumption. Knowing your energy needs is fundamental in designing a suitable solar system for your home.
Evaluating Your Roof
Not every roof is ideal for solar panel installation. Consider the following factors:
- Roof Orientation: South-facing roofs typically receive the most sunlight.
- Roof Pitch: A slope of 30 degrees is often considered optimal for solar energy production.
- Shade Analysis: Identify any obstructions like trees or buildings that cast shadows on your roof.
- Roof Condition: Ensure your roof is in good condition. If repairs are necessary, address these before installing solar panels.
Assessing Local Regulations
Local regulations and building codes must be reviewed. Understanding permit requirements and potential restrictions is crucial as they vary by municipality. Check for any homeowner association rules that may impact your installation plans.
Choosing Solar Panels and Equipment
Not all solar panels are created equal. Consider the following while selecting:
- Type of Panels: Mono-crystalline panels are often more efficient but can be more expensive. Poly-crystalline panels are generally less efficient and may be cheaper.
- Inverters: Essential for converting solar energy from DC to AC. Decide between string inverters and microinverters based on your roofing layout.
- Battery Storage: Consider whether you need battery storage for nighttime use or emergency backup.
- Warranty: Look for long warranty periods, indicating a manufacturer’s confidence in their product.
Calculating Installation Costs
Installing solar panels can be a significant investment. Conduct a detailed cost analysis that includes:
- The price of solar panels and equipment
- Potential installation costs
- Available tax credits or rebates
- Estimated return on investment over time
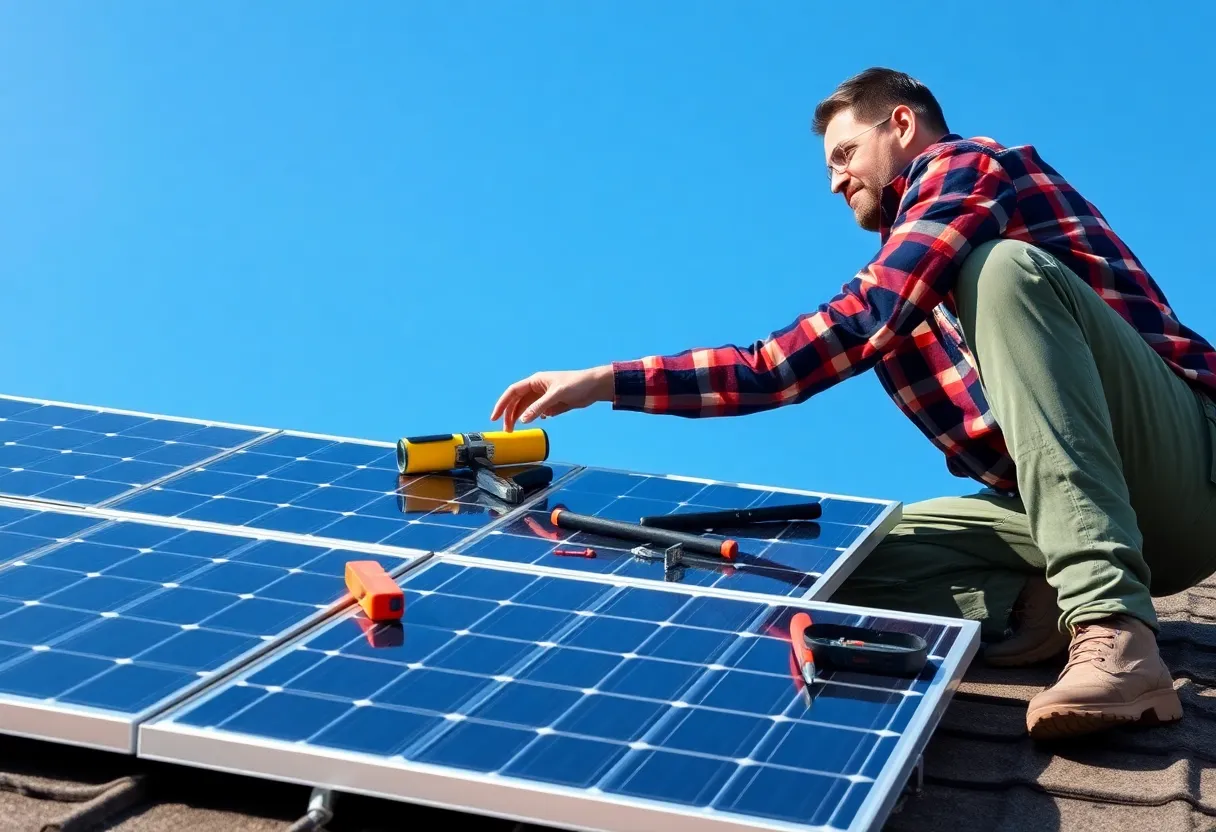
Preparing for Installation
Once you’ve completed the above steps, it’s time to gather your tools and materials. Basic tools like a drill, a wrench set, and a multimeter will be necessary. You may also need safety gear, including gloves and goggles. Assemble your solar panel kit that typically includes:
- Solar panels
- Inverters
- Mounting systems
- Wiring and connectors
Safety Precautions
Safety should always come first. When working on your roof, ensure you have solid, secure footing. Use safety harnesses and fall protection gear. If uncomfortable working at heights, consider hiring a professional.
Step-by-Step Installation Process
1. Install Mounting Hardware
The first step in the installation process involves the mounting hardware. Follow the manufacturer’s instructions carefully. Securely attach it to your roof, taking care to avoid damaging any underlying structures.
2. Set Up Panels
Once the mounting hardware is secure, position the solar panels. Ensure they fit snugly into the mounting brackets. Make all connections according to the schematic provided in your kit.
3. Connect the Inverter
The inverter connects to the solar panel system. Follow the wiring diagrams to link it properly. This step is critical as a misconfiguration can lead to electrical issues.
4. Wiring the System
Carefully connect the solar panels to the inverter and, subsequently, to your home’s electrical system. This typically involves running wires from the panels to the inverter and then to the electrical panel. Properly securing cables prevents future damage.
5. Final Electrical Connections
Ensure all electrical connections are tight and secure. Test the system carefully using a multimeter to check for proper installation before activation.
Inspection and Activation
After installation, you may need to pass a local inspection to ensure compliance with building codes. Schedule this promptly to get the go-ahead for activation. Once approved, activate your solar power system. Monitor the system’s performance regularly to ensure optimal functionality.
Maintenance Tips for Longevity
Maintenance is essential to prolonging the life of your solar panels. Follow these guidelines:
- Cleaning: Regularly remove debris and snow buildup. Use a soft brush and gentle soap to avoid scratches.
- Inspections: Periodically check for damage to panels, wiring, and connections.
- Monitoring: Use monitoring software, if available, to track energy output and identify issues early.
Conclusion
Transforming your roof with DIY solar panel installation is an achievable goal for homeowners willing to invest time and resources. By following the outlined steps, you can successfully reduce energy costs and contribute to environmental sustainability. Embracing solar energy is not just a trend; it’s a step towards a greener future.